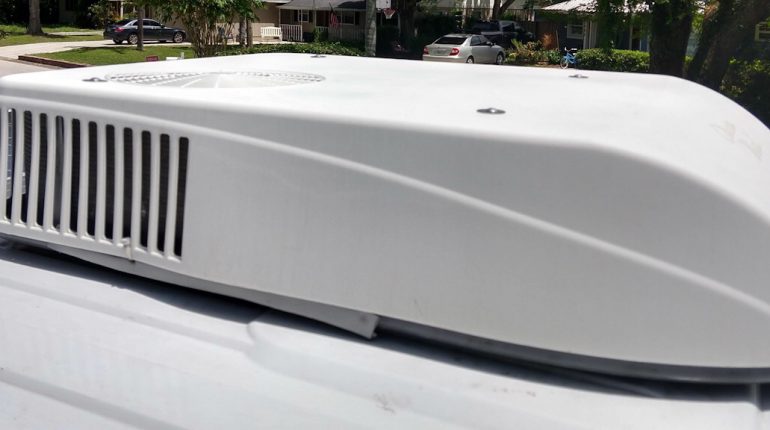
It is the middle of summer, and you have decided to go camping with your family. You come back from a long day at the beach to relax in the comfort of your RV, and your RV air conditioner won’t turn on.
It’s early in the day, so it is not too hot yet, but the temperature is supposed to get up to 98 degrees today, so it will not be cool for long. What can you do?
Well, before you begin troubleshooting to see if the problem can be fixed, it is important to know that there are two different systems within your RV air conditioner that could be causing the issue.
- The sealed system contains the compressor, the condenser, and the evaporator. These are all components that are designed to cool the air, so if one of these parts are not working properly, your air conditioner could simply fail to turn on or blow out hot air.
- The air moving components, which are the fans and the motor, could also be attributed to the air conditioner not turning on.
Before you begin troubleshooting to see what the issue is, make sure that you unplug your air conditioning unit to ensure that you do not receive a deadly shock when you are working on it. You can also trip the breaker if you prefer.
Once you have stopped the air conditioner from getting power, you can remove the shroud or the cover that is over the air conditioner by unscrewing the four bolts that are securing it.
Let’s begin troubleshooting to see what the issue is.
1. Clogged Or Dirty Condenser Coils
If your air conditioner is not cleaned on a regular basis, then the air flow will be restricted, which can lead to the air conditioning unit simply not turning on.
The best method of cleaning is using a wet and dry vacuum to remove all of the dust and grime from the coils. Then, you can clean the coils themselves with an air conditioning coil cleaner to get the rest of the grime off of the condenser.
A good way to test whether or not your air conditioner needs to be cleaned is to turn it on. If it fails to turn on, but you smell something burning, then the coils may be blocked with dust, debris, or other things that could prevent normal air flow.
Once the coils are cleaned, check the fins to see if any are significantly bent. This is not going to get the air conditioner to turn on, but it will help increase the air flow when you do get it working. When you deal with these fins, you need to be very careful because they tend to tear easily.
That being said, if you feel uncomfortable about straightening the fins, ask a professional because too many tears in the material will require you to replace the entire air conditioner.
2. Electrical Components
 If you notice that the breaker keeps flipping, you can move to the roof of your RV to see if there are any electrical issues that might be preventing the air conditioner from starting up.
If you are not comfortable working with electricity, then you should find a professional to help you because it is always better to be safe when dealing with electrical parts that could harm you.
Once you are on the roof, the first thing to do is use a volt meter to ensure that power is actually going to the motor. This does not mean that there is a serious electrical issue with the air conditioner; it simply means that the motor is not getting the amperage that it needs.
This could be a corroded connection that is preventing the motor from getting the required power to run properly.
Another electrical issue that you could encounter with your RV air conditioner is that the wires are not connected properly. Maybe they shook loose during the drive to the campsite, or maybe the wires are actually broken, preventing the motor from getting power altogether.
Make sure to check the entire control panel to ensure that there are no issues that need your attention like a loose connector. If fact, if you see anything that is broken or burnt on the control panel, that could easily be what is preventing your Air conditioner from turning on.
3. Air Conditioner Fan Motor
If your RV air conditioner still will not turn on, then the next thing that you should check is the motor. The reason that your air conditioner is not turning on could be something simple like the bearings are not rotating properly.
This is a simple fix that you can resolve by oiling the bearings. You may need to remove a few screws and coverings to be able to reach the bearings, but it is really not that difficult to do on your own.
If you do not see a location for bearings, then your air conditioning unit may have a sleeve instead, which can also be oiled as a way to increase the lifespan of the fans.
If the air conditioning has bearings and the motor is failing to start, it can be rebuilt, but if you have a sleeve model, you will have to purchase a replacement motor.
Once you oil the parts of the motor, you can check to see if the air conditioner starts. If it does, problem solved. If it starts up, but the fans are really slow, the motor is going and it will need to be rebuilt or replaced. Before you replace the motor, make sure to mark all of the wires so that you know how to properly reattach them.
4. Starting Capacitor
Do you hear a humming sound when you try to start up the air conditioner in your RV? Does the breaker seem to trip when you turn the unit on?
If so, then you may have a faulty capacitor. This is the part of the air conditioner that stores electricity so that the air conditioning unit can start up quickly.
If you have used the same unit for several summers or camping seasons, then I’d definitely check to see if this component needs to be replaced.
When you do purchase a new capacitor, make sure to purchase the same model number that you had installed. Don’t forget to label your wires so that you don’t get them confused during the installation, and hopefully, once the new capacitor is installed, the air conditioner turns on.
5. Compressor
If you find that the motor and the capacitor are not causing the issue, then the last part inside of the unit that you will want to consider as the cause of your faulty air conditioner is the compressor.
The compressor itself is typically a very costly part to repair, so you will want to check the switches on the compressor to see if that is the issue.
These switches can easily be replaced, but if the entire compressor is shot, replacing them is not going to be economical. In fact, it will most likely be cheaper to purchase a new air conditioner for RV than it would be to replace or repair the compressor.
Bonus Tip: Purchasing And Maintaining A New Air Conditioner For Your RV
Some air conditioners simply cannot be fixed. An RV air conditioner typically can lasts for a few years (3-5 years), but with regular maintenance, you can extend the life of the air conditioner by more than a few camping seasons.
Here are a few of the things that you can do to keep your air conditioner running for a longer period of time:
- Clean the intake filters after every trip that you make in the RV. If you are staying in the RV for the entire season, at least clean the filters every other week.
- Keeping the fan on high will help prevent the air conditioner from freezing.
- Also, remember that if you are taking a shower, you should open a vent so that the condensation is not drawn into the air conditioner. This will cause the condenser to work more, which can lead to your air conditioning unit not starting when you want it to.
- Check the condenser and the motor of your air conditioning unit two times a year so that you can ensure that the air is flowing through the unit like it should.
Final Thoughts
Having a working air conditioner is imperative for camping. It may be cool at night, but if you are camping in the middle of the summer during a heat wave, you are in for some hot days.
The only way to cool off is to jump in the pool, go to the beach, or relax in the air conditioning for a bit. Now that you know how to find out what is wrong with your RV air conditioning unit, you can quickly do the repairs yourself.


